First Fence of Idaho LLC. was founded on three simple principals. Provide timely communication, offer customers value for their money and create lasting relationships.

Fence building 101
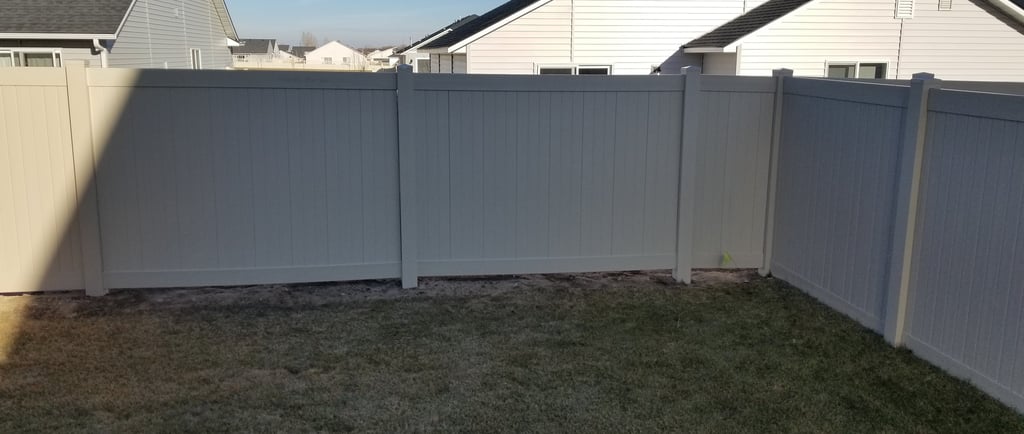
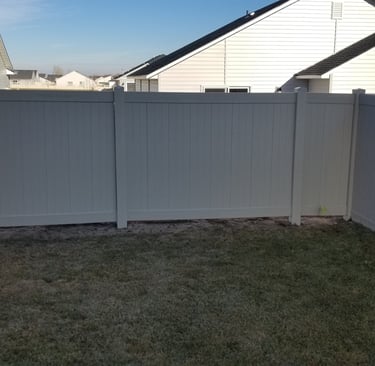
Installing a vinyl privacy fence involves several steps to ensure a sturdy and aesthetically pleasing result. Here's a step-by-step guide:
Matt Price
1/4/20243 min read
Installing a privacy fence involves several steps to ensure a sturdy and aesthetically pleasing result. The good news is FFI will take care of all of the materials and labor. However, an informed consumer is a empowered consumer. Here's a step-by-step guide:
Materials and Tools Needed:
Vinyl fence panels and posts
Concrete mix
Gravel
String and stakes
Level (post and line)
Post hole digger and auger
Drill and impact driver
Screws (color matched to fence)
Gate kit (if applicable)
Saws (Jig and circular)
Tape measure and laser measure
Safety gear (gloves, safety glasses and hearing protection)
Rail release jig and mallet
Oscillating tool and rail template
Saw horses
Caution tape
Marking paint
Step 1: Planning
Determine the layout of your fence and mark the corners and the locations for each fence post. Use stakes and string to create a straight line. Be cautions of any underground utilities such as (gas, communications, power, cable, sewer, water and irrigation infrastructure. FFI will contact the utility locate service to have utilities marked before construction. The homeowner will be responsible for marking irrigation.
Step 2: Check Local Codes
Before starting, check with your local municipality for any specific regulations or permits required for installing fences. A representative from FFI will be available to answer any questions and secure the necessary permits. Some HOAs will require written permission to remove, relocate or change the height of a fence.
Step 3: Digging Holes for Posts
Use a post hole digger or auger to dig holes for the fence posts. The depth of the holes should be around one-third of the total length of the post, with a minimum depth of 2 feet. Make sure the holes are evenly spaced and aligned with your planned fence layout. Use string lines to maintain a straight line for the fence. FFI will help you recognize the frost line in your area. Most of the treasure valley has a frost line of 24 inches, however north eastern Idaho frost lines can be as deep as 40 inches.
Step 4: Set the Corner and End Posts
Place the corner and end posts in the holes and add gravel to the bottom for drainage. Use a level to ensure the posts are plumb (perfectly vertical). Pour concrete mix into the holes and add water according to the manufacturer's instructions. Allow the concrete to set. Concrete cure times will vary depending upon the mix, ground temperature, precipitation and wind speed.
Step 5: Install Line Posts
Repeat the process for the line posts, placing them in the remaining holes. Use a string level to make sure the tops of the posts are level. Double check post spacing. Fill the holes with concrete and let it set. If possible set the bottom rails while the posts set.
Step 6: Attach Rails
Once the posts are set, attach the horizontal rails to the posts. Follow the manufacturer's instructions for spacing and attachment methods. Use a level to ensure the rails are level. FFI recommends a gap of one to three inches from the bottom of the lower rail. It is important to consider the the height of the top rail.
Step 7: Install Fence Panels
Slide the vinyl fence panels into the brackets on the installed rails. Make sure the panels are level and plumb, adjusting as necessary. If needed, cut panels to fit using a saw. Some end panels will need color matched screws attached through the top or bottom rails to prevent racking. FFI recommends installing u-channels on each post transitioning to the panels in accordance to the manufactures instructions.
Step 8: Install Gates (if applicable)
Follow the manufacturer's instructions to install the gate(s). Ensure proper spacing, alignment, and leveling. Install gate hardware and latch according to the provided guidelines. FFI will install, adjust and reinforce single or double gates for you.
Step 9: Secure the Fence
Use screws to secure the fence panels to the posts and rails. Make sure everything is tightly secured. The treasure valley is a notoriously windy place. FFI recommends and installs top rails with screws inside each post to prevent pull-out in windy conditions. FFI also glues all top caps.
Step 10: Final Checks
Walk along the entire fence line, checking for any issues with alignment or stability. Make any necessary adjustments. FFI will conduct a final walk in which the customer will inspect the job, ask any questions and sign off on completion.
Tips:
Follow the manufacturer's instructions for your specific vinyl fence product.
Consider the terrain and make adjustments as needed for slopes or uneven ground.
Allow the concrete to fully cure before putting stress on the fence.
Remember to prioritize safety during the installation process, and if you encounter any challenges, consult the manufacturer's guidelines or seek an FFI professional for assistance. Call FFI today for your free consultation on your next fence project. 208-810-1169.
Contacts
info@firstfenceofidaho.com
Socials
Subscribe to our newsletter
(208)810-1669